Files uploaded to a Salesforce record are automatically moved to SharePoint, leaving only a reference record to the file in Salesforce, called ‘’File 365”.
2.1 Upload with the File 365 Toolbox #
To add a file to a Salesforce record with File 365, you have two options. The first is to use the File 365 toolbox that should be added to the record page. Use the Upload Files button or easily add the files by dragging-and-dropping the files onto the drop zone of the Toolbox area.
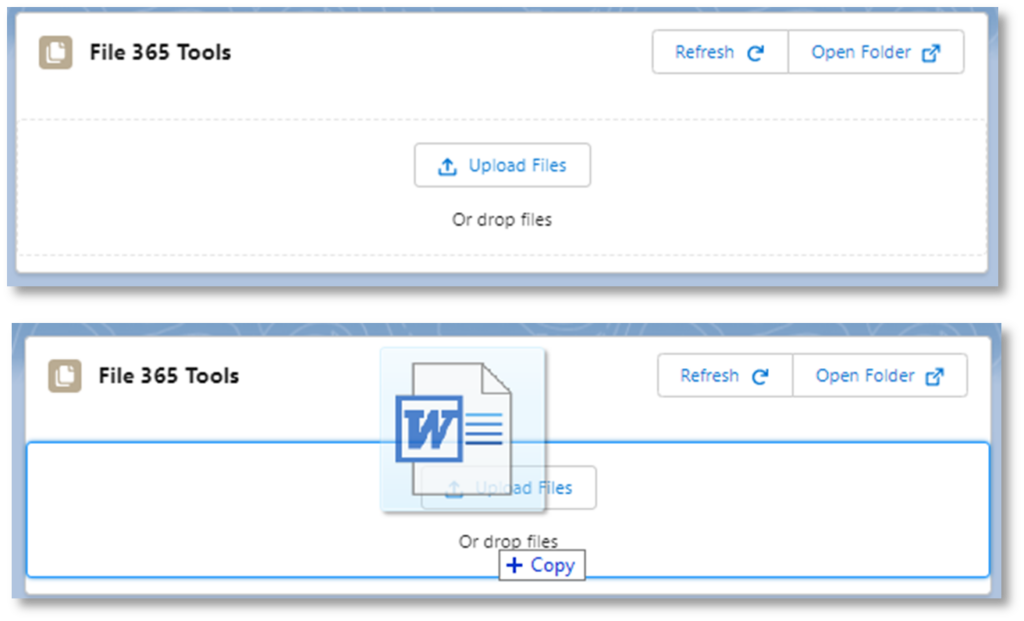
Right after the upload to Salesforce is ready, the file will be transferred to SharePoint. When File 365 is configured for the Salesforce Object, the file will be uploaded to the SharePoint location configured by the File 365 Administrator. File 365 supports all Microsoft 365 file formats. For uploads from Salesforce there is a file size limit of 10 MB, for uploads via SharePoint there is no file size limit, these files can then be accessed from Salesforce.
2.2 Upload to the File 365 Gallery Related List #
If the record page has been configured with the new File 365 Gallery Related List component, the upload Files button that is included in the component can be used to upload files directly in Salesforce, or the Open Folder may be used to upload files from the SharePoint side (see next paragraph).
2.3 Relate a file to a Salesforce record via SharePoint #
Another way to relate a file to a Salesforce record, is to upload a file via SharePoint. Go directly to SharePoint by clicking on Open Folder in the File 365 Toolbox or File 365 Gallery. This will open the subfolder in SharePoint that is related to the record. Add a new file with the +New button on top or drag and drop your files from Explorer. Wait for the files to be uploaded to the SharePoint folder. Return to the Salesforce record page and Refresh your screen. The File 365 Related List will be updated and show the added files.
2.4 Upload with Files or Notes & Attachments #
Also it is still possible to use the standard Salesforce components Files and Notes & Attachments. The file won’t be visible in the Notes & Attachments section, but a File 365 record will be created instead.

